
Are you ready to embrace the art of composting and make a positive impact on the planet?
Understanding the Composting Process
Aerobic Composting
Anaerobic Composting
Aerobic Compost Methods for Home Composting
Backyard Composting
Backyard composting is one of the most accessible and popular methods of composting for homeowners and gardeners alike. It allows you to transform kitchen scraps, yard waste, and other organic materials into nutrient-rich compost that can be used to enrich your garden soil and nourish your plants.
Setting Up Your Backyard Compost Bin or Heap
Step 1: Choose a suitable location
Select a well-drained area with good air circulation and partial shade.
Decide on a composting method: Decide whether you’ll use a compost bin or create a compost heap directly on the ground.
Step 2: Add the first layer
Start with a layer of coarse materials like twigs or straw to improve aeration and drainage.
Step 3: Layer organic materials
Alternate layers of brown materials (such as dried leaves, straw, or cardboard) with green materials (such as kitchen scraps, grass clippings, or fresh plant trimmings).
Step 4: Maintain moisture and aeration
Keep the compost pile moist, but not waterlogged, and turn it regularly to aerate and speed up decomposition.
Step 5: Monitor the compost pile
Pay attention to temperature, odor, and decomposition progress to ensure optimal conditions for composting.
Tips for Maintaining Your Backyard Compost
Chop or shred large materials to accelerate decomposition.
Avoid adding meat, dairy, or oily foods to prevent attracting pests and creating unpleasant odors.
Turn the compost pile regularly to mix the materials and promote even decomposition.
Use finished compost in your garden beds, containers, or as a nutrient-rich top dressing for lawns.

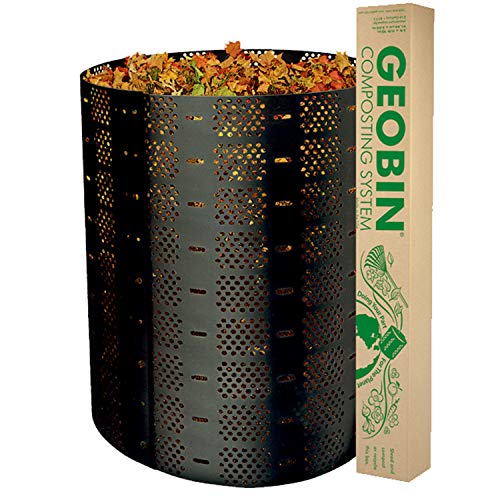
Recommended Backyard Composting Products:
Choose from a variety of compost bin designs, including tumblers, stationary bins, or DIY options.


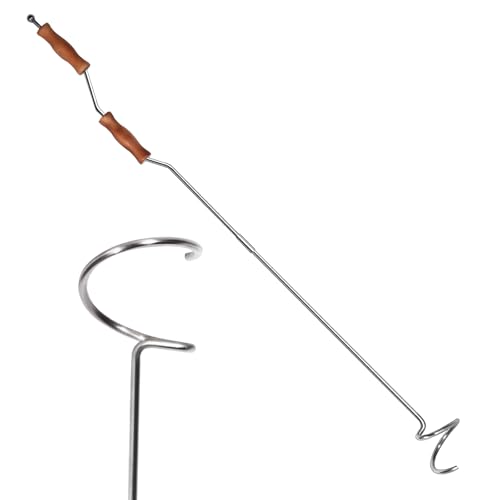
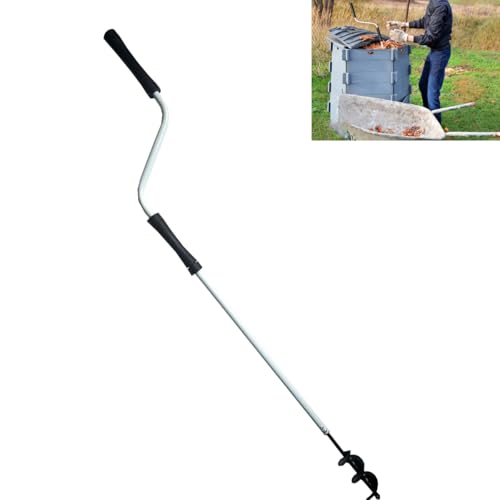
Consider investing in a compost aerator or pitchfork to easily turn and aerate your compost pile.


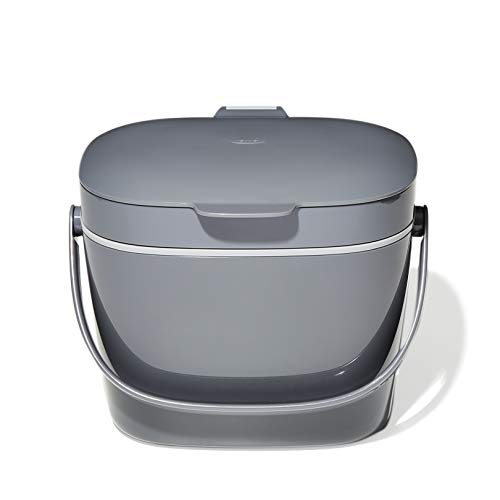
Use a dedicated container to collect kitchen scraps before adding them to your compost pile.


Vermicomposting
Vermicomposting harnesses the natural digestive abilities of special composting worms, such as red wigglers (Eisenia fetida), to convert organic waste into nutrient-rich castings, also known as vermicompost. This process not only diverts kitchen scraps and other organic materials from the landfill but also produces a valuable soil amendment that promotes healthy plant growth.
Setting Up Your Vermicomposting Bin
Step 1: Choose a suitable container
Select a sturdy plastic or wooden bin with a tight-fitting lid to contain the worms and composting materials.
Step 2: Create bedding for the worms
Add a layer of moistened bedding material such as shredded newspaper, cardboard, or coconut coir to provide a comfortable environment for the worms.
Step 3: Introduce the worms
Purchase composting worms from a reputable supplier and introduce them to the bedding material in the bin.
Step 4: Add organic waste
Begin adding kitchen scraps, fruit and vegetable peelings, coffee grounds, and other organic materials to the vermicomposting bin. Avoid adding citrus fruits, onions, garlic, and spicy foods, as they may deter worms or attract pests.
Step 5: Maintain optimal conditions
Keep the vermicomposting bin in a cool, shady location with temperatures between 55°F and 77°F (13°C and 25°C). Keep the bedding moist but not waterlogged, and cover the surface with additional bedding to prevent fruit flies.
Feeding and Caring for Your Composting Worms
Feed the worms small amounts of organic waste regularly, burying it beneath the surface of the bedding to prevent odor and pests.
Monitor moisture levels and adjust as needed by misting the bedding with water or adding dry bedding materials.
Avoid overfeeding the worms, as excess food can lead to anaerobic conditions and foul odors.
Harvest vermicompost when it appears dark, crumbly, and earthy-smelling, typically every 3-6 months, depending on the size of your vermicomposting system and the rate of decomposition.

Utilizing Vermicompost in Your Garden
Enjoy healthier, more vibrant plants and increased yields thanks to the beneficial effects of vermicompost on soil fertility and plant growth.
Use vermicompost as a nutrient-rich soil amendment in your garden beds, containers, or as a top dressing for houseplants.
Mix vermicompost into potting mixes to improve soil structure, water retention, and nutrient availability for plants.
Enjoy healthier, more vibrant plants and harvests thanks to soil fertility benefits and plant growth.
Recommended Worm Composting Products:


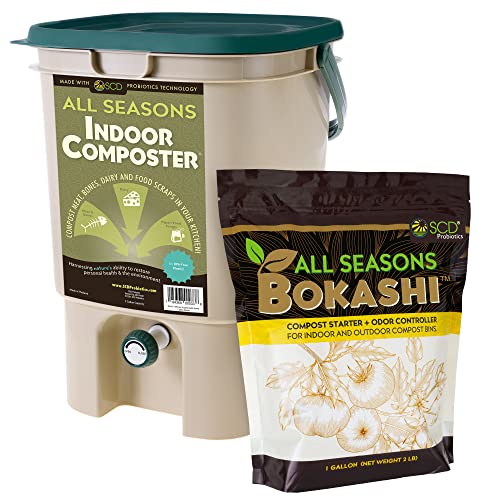
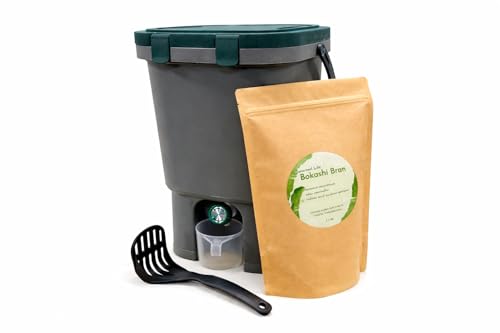
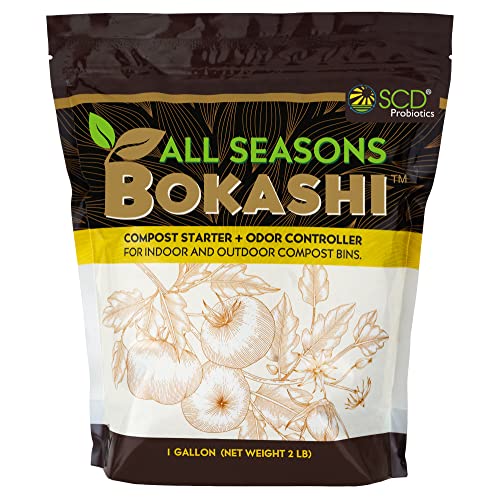
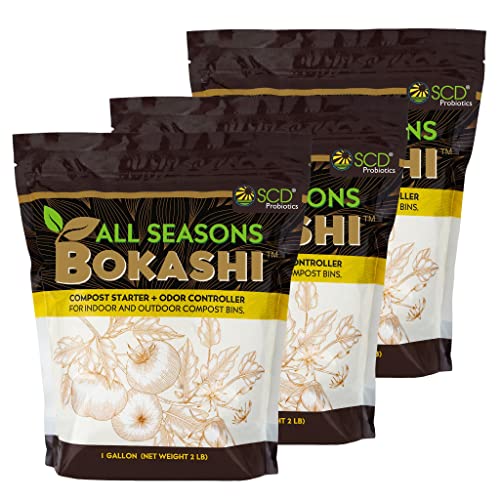
Bokashi Composting
Bokashi composting originated in Japan and has gained popularity worldwide due to its ability to quickly break down organic waste without the need for outdoor space or traditional composting methods. The key to bokashi composting is the use of bokashi bran, a mixture of beneficial microorganisms that ferment organic matter instead of decomposing it through aerobic or anaerobic processes.
Setting Up Your Bokashi Composting System
Step 1: Choose a bokashi bin
Select airtight containers or bins specifically designed for bokashi composting. These bins typically have a drainage system and a tight-fitting lid to seal in odors and moisture.
Step 2: Layer organic waste and bokashi bran
Add a layer of organic waste, such as fruit and vegetable scraps, cooked food, meat, dairy, and bread, to the bokashi bin. Sprinkle a handful of bokashi bran evenly over the waste.
Step 3: Repeat the layering process
Continue layering organic waste and bokashi bran until the bin is full, pressing down the layers to remove air pockets.
Step 4: Seal the bin
Close the lid tightly to create an airtight environment inside the bin, which is essential for the fermentation process to occur.
Step 5: Ferment the waste
Allow the organic waste to ferment in the bokashi bin for 2-4 weeks, depending on the ambient temperature and the level of fermentation desired.
Utilizing Bokashi Compost
Incorporate bokashi compost into soil:
Once the fermentation process is complete, bury the fermented waste directly in the soil or add it to a traditional compost pile or worm bin.
Enhance soil health:
Bokashi compost adds beneficial microorganisms and nutrients to the soil, improving soil structure, fertility, and moisture retention.
Reduce odors and pests:
Bokashi composting produces minimal odors and attracts fewer pests compared to traditional composting methods, making it ideal for indoor or urban environments.

Recommended Bokashi Composting Products:


Hot Composting
Hot composting relies on a carefully managed process of aerobic decomposition, where microorganisms generate heat as they break down organic matter. The elevated temperatures achieved during hot composting accelerate the decomposition process, resulting in faster compost production and the destruction of weed seeds and pathogens.
Setting Up Your Hot Compost Pile
Step 1: Choose a suitable location
Select a level, well-drained area with good air circulation for your compost pile.
Step 2: Layer organic materials
Add a balanced mixture of brown materials (such as dried leaves, straw, or cardboard) and green materials (such as kitchen scraps, grass clippings, or fresh plant trimmings) to the compost pile.
Step 3: Create optimal conditions
Ensure the compost pile has the right balance of ingredients, moisture, and aeration to support microbial activity and heat generation.
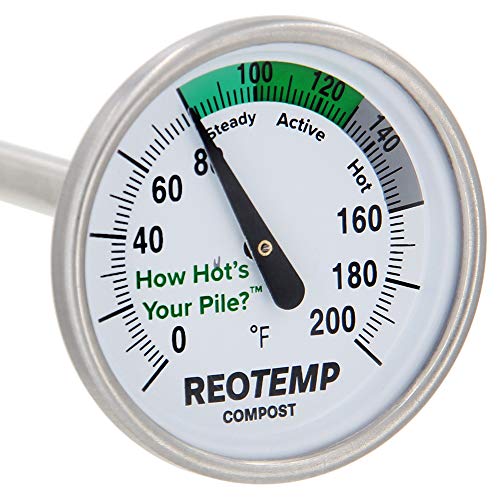
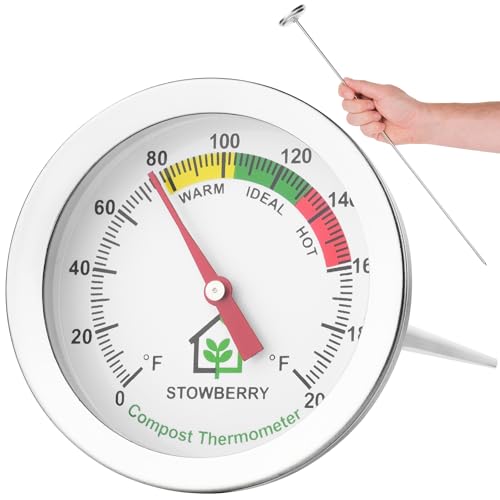
Step 4: Monitor temperature and moisture levels
Use a compost thermometer to monitor the internal temperature of the compost pile, aiming for temperatures between 120°F and 160°F (49°C and 71°C). Adjust moisture levels as needed to maintain a damp, but not waterlogged, environment.
Step 5: Turn the compost pile
Regularly turn or aerate the compost pile every few days to distribute heat evenly, add oxygen, and promote thorough decomposition.
Managing Your Hot Compost Pile
Maintain the right balance of brown and green materials to ensure proper decomposition and heat generation.
Keep the compost pile moist, but not soggy, to support microbial activity and heat production.
Avoid adding materials that may slow down the composting process, such as meat, dairy, or oily foods.
Monitor temperature and moisture levels regularly and adjust as needed to optimize composting conditions.

Utilizing Hot Compost in Your Garden
Hot composting offers a fast and efficient way to transform organic waste into nutrient-rich compost for your garden. By following these simple steps and tips, you can create a thriving hot compost pile and enjoy the benefits of healthy, vibrant plants in your backyard oasis.
Allow the hot compost pile to mature: Once the compost pile has cooled down and finished decomposing, allow it to cure for a few weeks to several months before using it in your garden.
Use hot compost as a nutrient-rich soil amendment: Incorporate mature compost into garden beds, containers, or as a top dressing for lawns to improve soil fertility and structure.
Enjoy healthier, more productive plants: Hot compost enriches the soil with essential nutrients, promotes beneficial microbial activity, and enhances plant growth and vitality.
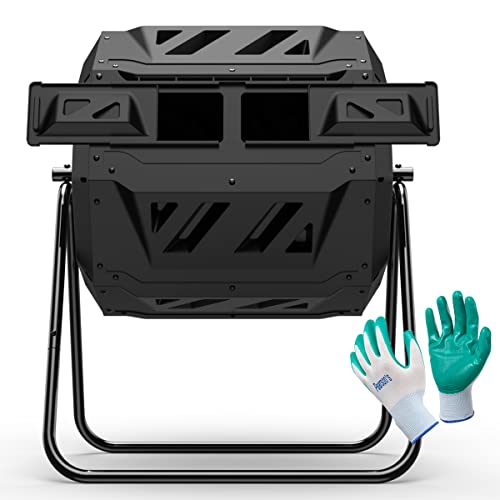
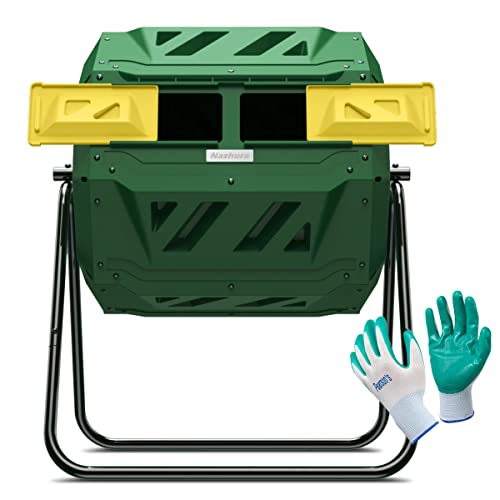
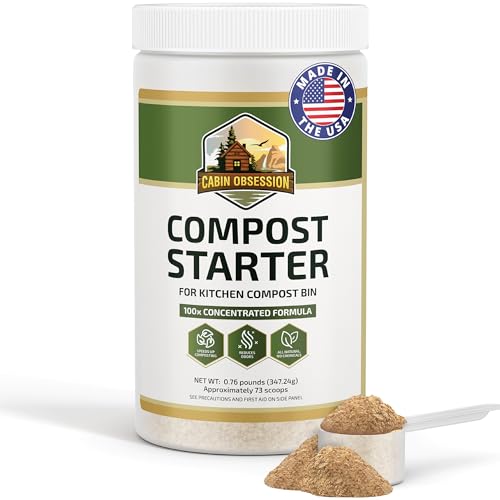
Recommended Hot Composting Products:
Compost tumblers are rotating bins that make it easy to turn and aerate compost without the need for manual labor. Look for durable, well-designed compost tumblers with features such as dual chambers for continuous composting and easy loading and unloading.

Compost starters contain beneficial microorganisms and enzymes that help kickstart the decomposition process in a compost pile. Recommend organic compost starters that are safe for the environment and promote healthy microbial activity.


A high-quality compost thermometer allows users to monitor the temperature of their compost pile accurately. Look for durable thermometers with a long probe for easy insertion into the compost pile.


Other Methods of Composting
While hot composting, vermicomposting, and bokashi composting are popular methods for composting organic waste, there are several other approaches that may suit your needs and preferences. In this section, we’ll explore these alternative composting methods and their unique benefits.
Trench Composting
Cold Composting
Sheet Mulching
In-Vessel Composting
Aerated Static Pile Composting
Each of these composting methods offers unique advantages and can be tailored to fit your specific needs, space constraints, and composting goals. Experiment with different techniques to find the method that works best for you and your garden.
Compost Method FAQ
What is the fastest method of composting?
Hot composting is often considered the fastest method of composting, as it relies on high temperatures to accelerate the decomposition process. By actively managing the compost pile’s temperature, moisture, and aeration, hot composting can produce finished compost in as little as a few weeks to a few months, depending on the materials used and environmental conditions.
What is the laziest way to compost?
Cold composting, also known as passive composting, is often considered the laziest way to compost, as it requires minimal effort and maintenance. Instead of actively managing the compost pile’s temperature and aeration, cold composting relies on natural decomposition processes to break down organic matter gradually. Simply pile organic materials in a designated compost area and allow them to decompose over time without turning or aerating the pile regularly.
What is the most effective composting method?
The most effective composting method depends on various factors, including available space, time commitment, and composting goals. Hot composting is often considered one of the most effective methods for producing high-quality compost quickly, while vermicomposting is highly efficient at breaking down organic matter with the help of worms. The effectiveness of a composting method also depends on proper management and environmental conditions.
What kind of container should I use in the rapid composting method?
In rapid composting methods such as hot composting or in-vessel composting, it’s essential to use a container or bin that allows for proper aeration, moisture retention, and temperature control. Choose a sturdy compost bin or tumbler specifically designed for rapid composting, with ample ventilation, insulation, and aeration features. Look for bins with convenient access for adding materials, turning the compost pile, and harvesting finished compost.
Which method of composting is best in your area and why?
The best method of composting for your area depends on local climate, available space, and personal preferences. Consider factors such as temperature, humidity, available materials, and composting regulations when selecting a composting method. For example, hot composting may be ideal for cooler climates with abundant organic materials, while vermicomposting or bokashi composting may be better suited for urban environments or areas with limited outdoor space.
How often should compost be turned when using the cold method?
In cold composting, also known as passive composting, the compost pile is turned infrequently, if at all. Instead of actively managing the compost pile’s temperature and aeration, cold composting relies on natural decomposition processes to break down organic matter gradually. Depending on the materials used and environmental conditions, turning the compost pile every few months to once a year may be sufficient to promote decomposition.
